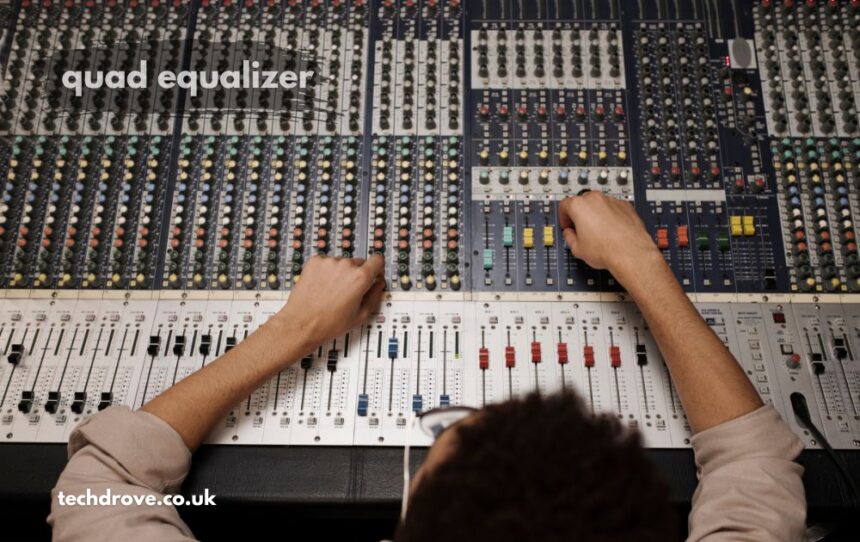
If your mix sounds muddy, thin, or just “off,” the problem might not be your speakers or your source audio it could be your equalizer. A quad equalizer gives you four precise bands of control, letting you shape sound with far more accuracy than a basic tone knob ever could.
What Is a Quad Equalizer?
A quad equalizer is an audio tool that splits sound into four separate frequency bands typically low, low-mid, high-mid, and high so each range can be adjusted independently. Instead of boosting or cutting the entire signal at once, you get targeted control over specific parts of the sound. This makes it easier to remove unwanted noise, highlight vocals, or balance instruments without affecting the whole mix.
How Does a Quad Equalizer Work?
Each of the four bands in a quad equalizer targets a specific frequency range using filters that boost, cut, or leave that range untouched. Adjusting the low band might tighten up a bass-heavy track, while tweaking the high band can add clarity to vocals or cymbals. Because each band works independently, you can fine-tune a sound with precision that a simple two-knob EQ can’t match.
Key Features to Look For in a Quad Equalizer
Not every quad equalizer is built the same way. Here’s what separates a solid unit from an average one:
- Sweepable frequency bands: Lets you choose the exact frequency each band targets, rather than using fixed points.
- Wide gain range: Typically offers boost/cut control of ±12dB or ±15dB for flexible shaping.
- Bypass switch: Allows quick A/B comparison between the EQ’d and unprocessed signal.
- Built-in gain indicators or LEDs: Helps visualize how much boost or cut is being applied.
- Durable build quality: Important for live sound setups where gear gets moved frequently.
- Low noise floor: Ensures the EQ doesn’t introduce hiss or hum into the signal chain.
Benefits of Using a Quad Equalizer
A well-used quad equalizer can transform how a track or live performance sounds. Some of the biggest advantages include:
- Cleaner vocals with reduced muddiness or harshness
- Better separation between instruments in a busy mix
- Easier correction of room acoustics during live sound
- More natural-sounding bass without boominess
- Reduced feedback in live PA systems
- Greater creative control over tone shaping
Mackie Quad Equalizer Overview
The mackie quad equalizer is widely recognized in both studio and live sound environments for its reliability and straightforward design. Mackie has built a reputation for gear that performs consistently without unnecessary complexity, and their quad EQ units follow that same philosophy. They’re commonly used by sound engineers who want dependable tone control without spending hours reading a manual.
Why Choose a Mackie Quad Equalizer?
Sound engineers and musicians often lean toward Mackie for a few clear reasons:
- Simple, intuitive layout: Controls are labeled clearly, making it easy to use even under pressure.
- Solid build quality: Designed to hold up in touring and rental situations.
- Consistent sound shaping: Delivers predictable results across different sound systems.
- Affordable pricing: Offers professional-level performance without a high-end price tag.
- Wide compatibility: Works well with mixing consoles, PA systems, and studio setups alike.
Quad Equalizer vs Standard EQ
A standard two-band EQ only allows basic bass and treble adjustments, which is fine for simple listening setups but limiting for serious sound work. A quad equalizer, by comparison, breaks the frequency spectrum into four adjustable zones, giving far more control over the final tone. For anyone doing live sound, podcasting, or music production, that extra flexibility often makes the difference between a mix that sounds average and one that sounds professional.
Tips for Using a Quad Equalizer Effectively
Getting the most out of a quad equalizer comes down to technique, not just gear. Keep these tips in mind:
- Cut before you boost. Removing problem frequencies often sounds more natural than adding new ones.
- Use small adjustments. Subtle changes of 2–3dB usually sound better than dramatic swings.
- Solo tracks first. Identify problem frequencies in isolation before adjusting them in the full mix.
- Match EQ to the room. Live sound often needs different settings than studio monitoring.
- Don’t over-EQ. Too many adjustments can make a sound feel unnatural or thin.
- Compare with bypass. Regularly switch the EQ on and off to confirm the changes are actually improvements.
Common Mistakes to Avoid
Even experienced users fall into a few predictable traps when working with a quad equalizer. Boosting too many bands at once often cancels out the clarity you’re trying to achieve, while ignoring the low-mid range can leave a mix sounding boxy or congested. It’s also easy to rely on visual meters instead of trusting your ears; always make final decisions based on how the sound actually feels, not just how the numbers look.
Conclusion
A quad equalizer is one of the most practical tools for anyone serious about sound, whether that’s live performance, studio recording, or podcast production. With four independent bands of control, it offers a level of precision that basic EQs simply can’t provide. And if you’re looking for a dependable option, a Mackie Quad Equalizer remains a trusted choice for engineers who want clean, professional results without unnecessary complexity. Learning to use one well takes practice, but the payoff is a noticeably clearer, more balanced sound.
FAQs about quad equalizer
What does a quad equalizer do?
It divides audio into four separate frequency bands for more precise tone control.
Is a quad equalizer good for live sound?
Yes, it helps reduce feedback and balance instruments during live performances.
What makes Mackie EQs popular?
They’re known for simple controls, solid build quality, and affordable pricing.
Can beginners use a quad equalizer easily?
Yes, most models have clearly labeled bands that are easy to learn.
How is a quad EQ different from a graphic EQ?
A quad EQ uses four sweepable bands, while a graphic EQ has many fixed bands.
Should I boost or cut frequencies first?
Cutting problem frequencies first usually gives a cleaner, more natural result.